

Table of Contents
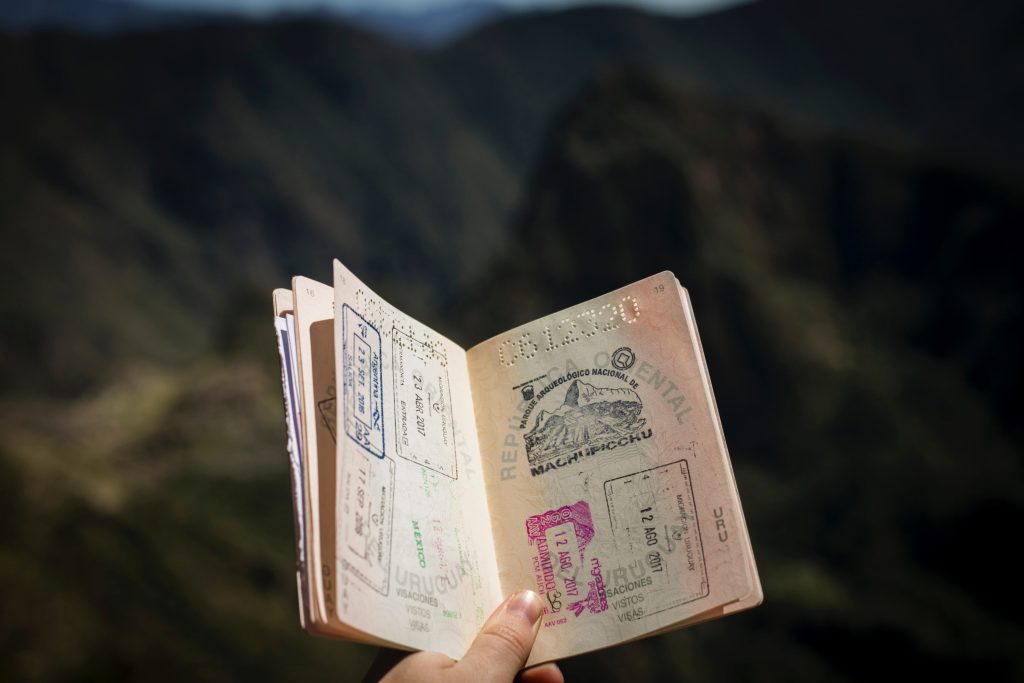
The DS-160 form is used to apply for non-immigrant visas to the United States, like the F-1 visa that most students need. This form is crucial since it contains a summary of all the personal data you are giving to the US embassy. Since you won’t be able to edit the form if you make any mistakes, it is absolutely critical that you give correct and genuine information. This is the section for you if you’re new to filling out DS-160 F1 visa application forms!
Keep reading as this article will explain every last detail of how to fill out a DS-160 F1 visa form and guide you through the entire online DS-160 form-filling process!
What Is The DS-160 Form?
Non-immigrants must complete the DS-160 F1 visa application form online in order to begin the US visa application process. Not only will you need to complete a DS-160 form for a student visa, but also for a visitor visa, a tourist visa, and a work visa. Through an online application, you can complete the DS-160 in its entirety. The DS-160 application process takes about 15 to 20 minutes to complete.
Why Is The DS-160 Form Important?
The DS-160 form for an F1 visa application, which comprises details on your academic and personal history, is very necessary for your application for a US visa. The form also serves as a piece of information for the US Consulate in your home country, which uses it to decide whether to grant your request for an F-1 US student visa. As a result, the DS-160 F1 visa application form must be filled out accurately and completely.
Who Needs DS-160 Form?
Whether your purpose for visiting the United States involves employment, education, or an extended travel adventure, it’s highly probable that you’ll require a visa for entry. The DS-160 application serves as a comprehensive repository of essential details that the U.S. government relies on to comprehend the nature of your visit. This aids in ensuring your safety during your stay and enables a clear understanding of your intended activities within the country. When seeking a visa, the DS-160 is the sole application form applicable across all visa categories.
How to Obtain the DS-160 Form?
To initiate the DS-160 application process, follow these steps:
1. Collect all Required Documents: Ensure you have all the official paperwork, documents, and records necessary to complete the DS-160 application.
2. Visit the Consular Electronic Application Center: Navigate to the dedicated Consular Electronic Application Center on the State.gov website.
3. Familiarise Yourself with the Sample DS-160 Form: Before you begin, it’s advisable to review the sample DS-160 form provided on the website. This step will help you become acquainted with the terminology used and the questions posed.
4. Begin the Application Process: Start the DS-160 application by answering the questions in English. However, if you’re more comfortable in a different language, there are drop-down menus offering translations to assist you throughout the process.
5. Save Your Progress: If needed, you can save your progress and return later to continue working on the form. Alternatively, you can save the form to an external drive if you anticipate needing more than 30 days to complete it.
Documents Checklist For DS-160 Form
Passport: Ensure your passport is valid for a minimum of six months beyond your intended stay in the United States. A valid passport is required to complete the DS-160 Form.
Photograph: Prepare a digital photograph adhering to the US Department of State’s specifications. This entails a plain background, a well-lit and clear image of your face, and no glasses or headwear, except for religious purposes.
SEVIS ID: If you’re seeking an F-1 student visa, you’ll need to furnish your SEVIS ID, a unique number assigned by your educational institution.
Financial Documentation: Be prepared to provide documents substantiating your financial capability to sustain yourself during your U.S. studies. These may encompass bank statements, evidence of scholarships or grants, or a sponsorship letter.
Steps To Fill The DS-160 Form
Online DS-160 F1 visa application form filling can take some time, but it’s not a difficult task. When filling out the DS-160, make sure all of your information is accurate and e genuine. Always remember to save your work as you complete the DS-160 form so that it is already saved when the session expires.
Step 1: Starting With The DS-160 Application
Enter your selected consulate and the CAPTCHA code after you’ve reached the sign-in page. To begin a new application, click “Start an application,” or if you already know your application number, click “Retrieve an application.”
Step 2: Fill In The Security Questions
Everyone must answer the same security question, which is “What is your mother’s name?”
Step 3: Fill In Your Personal Details
Your personal information must be entered on the following two pages. This contains information about your entire name, your name in your native alphabet, and any former names you may have had. When asked if a Telecode reflects your name, select “No.” You will be questioned about your nationality and whether you have dual citizenship on page 2. Always provide the information requested in accordance with your profile.
Step 4: Fill In The Passport information
The following two parts contain information regarding your residence, contact information, itinerary, passport, and so forth. While completing the DS-160 F1 visa application, keep in mind the following:
- If none of the other categories applies to you, the passport type is Regular.
- The most common sort of visa is an F-1 student visa.
If you have already purchased your airline tickets, please indicate this when completing the DS-160 form. You must provide the expected date of arrival into the US if not. The time leading up to your orientation may be 5-7 days. If you are paying for the trip yourself, then include that information. If not, then include your sponsors’ names, contact information, and relationship with you.
Step 5: Fill In Your Family Information
The following section of the DS-160 F1 visa application form is very generic and asks for your basic family information.
Step 6: Fill In Your Education Information
You must mention your post-secondary education in the later subsection (undergraduate degree, graduate degree, etc.) You must also include information about your current and previous jobs. People who are neither employed nor studying should select ‘NOT EMPLOYED’ in the Primary Occupation section.
You will also be asked about the languages you know and the places you have visited (abroad) in the last five years. This is followed by a few personal questions, such as whether you have any special expertise in the field of explosives if you’ve ever served in the military, if you’ve ever been a member of a rebel group, and so on. Unless it is valid for you and you have a valid explanation, the answer to all of these questions should be NO.
Step 7: Answer The Security Questions
The next section DS-160 form for an F1 visa application form includes security questions. These are to ensure that you will not cause any problems in terms of violence, communicable diseases, and so on while in the United States. It is divided into five sections.
They may even question you about communicable diseases, disorders, drug addiction, whether you or any member of your family has been involved in criminal activities, and so on.
The US consulate will also ask you if you have ever attempted to gain illegal immigrant status in the United States. If you answer NO to all of these questions, you will raise red flags with the visa officer!
Step 8: Fill In F-1 Visa Specifics
The following section is dedicated to the F-1 visa. It has fields for you to enter your SEVIS ID, school name and address, course information, duration, and so on. This is only applicable to student visas.
Step 9: Review Your DS-160 Form
After learning how to fill out the DS-160 and complete it completely, you must carefully review your application. You do not need to upload any photographs because they will be taken at the ASC (Application Service Centre).
Application Process & Fees Of DS-160 Form
The process of applying for a U.S. F-1 visa involves understanding the associated fees and the steps required. The DS-160 application form serves as an essential point in this journey, encompassing both the application fee and the subsequent visa interview cost.
DS-160 Application Fee:
- Fee Amount: $160
- Purpose: Covers the submission cost of your DS-160 F-1 visa application to the US government.
SEVIS I-901 Fee:
- Fee Amount: $350
- Purpose: Paid separately to the Student and Exchange Visitor Programme (SEVP).
- Not part of the DS-160 application fee.
Visa Interview:
- Follows DS-160 submission.
- Cost: Covered within the $160 DS-160 application fee for the F-1 visa.
- You won’t need to make an additional payment for the visa interview.
Guide To Manage F-1 Visa Application Form DS-160 Process
Here are some suggestions for managing the DS-160 F-1 Visa Application process:
Certainly, here are some pointers to keep in mind while navigating the F-1 Visa Application Form DS-160 process:
1. Preparation is Key: Ensure you have all necessary documents and photos at hand. This includes your passport, travel itinerary, education history, and any supporting materials required.
2. Choose the Right Browser: Opt for an updated version of browsers like Firefox, Chrome, or Internet Explorer to prevent any technical glitches during the submission process.
3. Allocate Sufficient Time: Set aside approximately 90 minutes to complete the DS-160 application. This will allow you to thoroughly enter information and review your responses.
4. Save Your Progress: If you are unable to complete the application in one sitting, you can save your progress and return to it later using the provided options. This helps prevent rushing through the form.
5. Be Accurate and Consistent: Ensure all information you provide is accurate and consistent with your documents. Mistakes or discrepancies can cause delays or issues with your application.
6. Review and Double-Check: Before submitting, review your answers carefully. Mistakes could lead to complications down the line. Double-check details like names, dates, and contact information.
7. Use Clear and Concise Language: Avoid ambiguity to provide a better understanding of your background and intentions.
8. Answer Honestly: Inconsistencies or false information can lead to visa denials or other complications.
9. Payment Method: Verify that your chosen payment method is accepted on the application platform.
10. Document Uploads: Be prepared to upload necessary documents and photos as required. Ensure that they meet the specified size and format requirements.
11. Note Your Application ID: Upon submission, you will receive a unique application ID. Keep this ID safe as you’ll need it for future reference and for scheduling visa interviews.
12. Save and Print Confirmation: After successfully submitting the application, save and print the confirmation page. This serves as proof that you’ve completed the form and provides additional details.
13. Interview Preparation: Prepare for the visa interview by reviewing potential questions and having a clear understanding of your intentions for studying in the United States.
14. Stay Informed: Keep track of any updates or changes to the visa application process by visiting the official U.S. Department of State website or consulting with your educational institution’s international office.
By following these guidelines, you can streamline the DS-160 application process and enhance your chances of a successful F-1 visa application.
What Is The Timeline For Processing DS-160 Form?
Upon successfully submitting your DS-160 application, a confirmation page displaying a barcode will mark the completion of this phase in your visa application. It’s important to print out this page containing your DS-160 barcode, which you’ll need to bring along for your visa application interview appointment.
It’s crucial to note that while you’ve finished the DS-160 component of your visa application, the next step involves attending an in-person interview at your local embassy or consulate. To avoid potential delays, it’s advisable to promptly schedule your F-1 visa interview, as these delays can extend over several weeks.
Conclusion
Now that you know how to fill out the DS-160 F1 visa form, check your information thoroughly before submitting it, as changes cannot be made once it has been submitted. You will receive a confirmation once you have submitted your form. Following that, you can book the US visa interview dates on the website of the embassy or consulate. Filling out the DS-160 F1 visa application form is simple if you have all of the necessary information.
FAQs
1. How many days before should I fill out DS-160?
You have 30 days to finish your DS-160 application after you start it.
2. What is the fee for the DS-160?
The cost of a DS-160 visa is $160. If you are a SEVIS transfer student who is transferring your current F-1/J-1 record to UCSC, you do not need to pay the SEVIS fee again.
3. How long is the DS-160 valid after the submission date?
As long as the data provided is current and hasn’t changed, the DS-160 should generally be valid.
4. What to do after filling out the DS-160 form?
The next stage in your visa application is to schedule a US visa appointment after finishing your DS-160. In order to do this, you must pay the visa cost and decide where and when to have your visa interview. A separate appointment for biometrics at a Visa Application Center is necessary for some nations.
")
")


0 Comments